Stay Informed With Trusted Health Insights
Join 5,000+ readers who receive evidence-informed health articles, wellness tips, supplement reviews, and practical health guides delivered straight to their inbox.
Get Free Health UpdatesNo spam. Just helpful health education, updates, and resources.
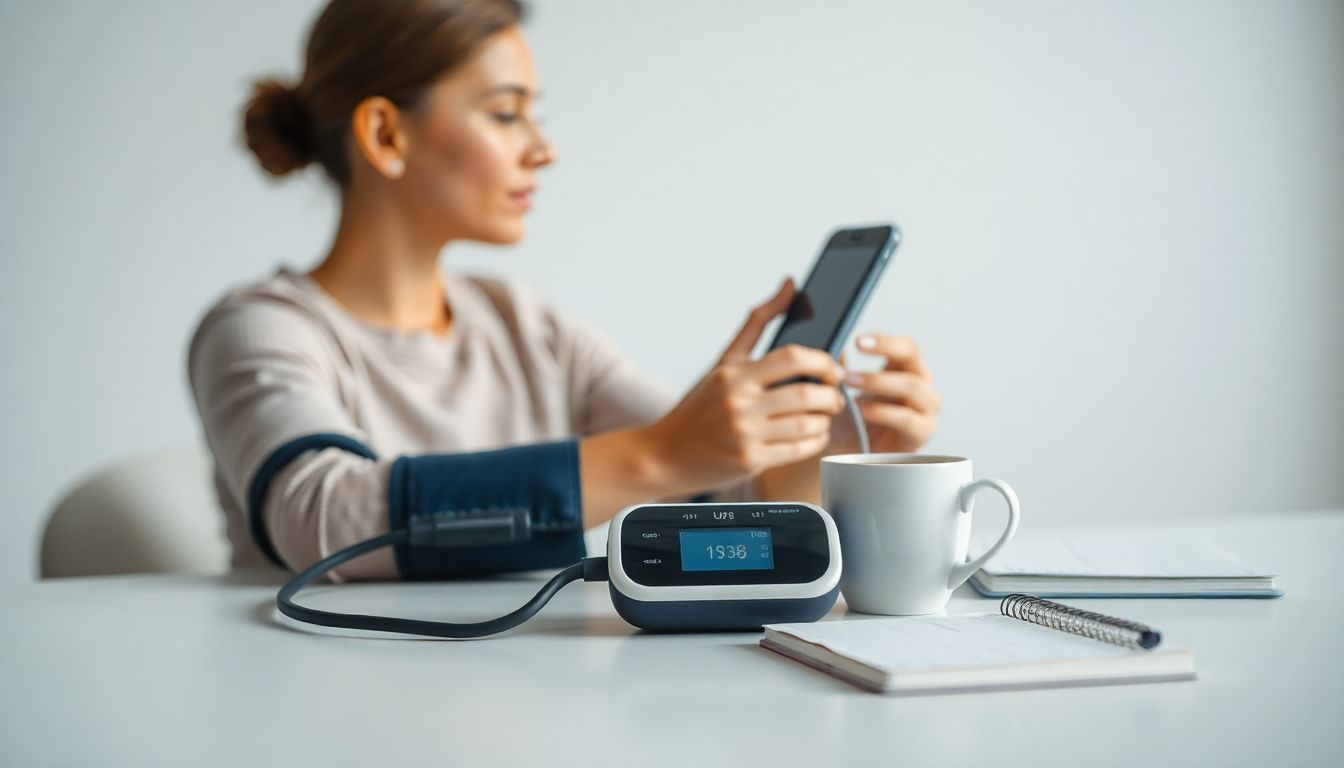
Monitoring your blood pressure at home is one of the simplest and most powerful ways to protect your heart.
Regular checks help you spot rising numbers early, see which lifestyle changes work, and share reliable data with your doctor.
This guide shows you how to take accurate readings, what equipment you need, and how to understand the numbers you see.
(Related Reading: The Complete Guide to Lowering Blood Pressure Naturally)
❤️ Why Home Monitoring Matters
- Early Detection: Hypertension often has no symptoms.
- Better Control: Lets you fine-tune diet, exercise, or medication.
- Reduced “White Coat Effect”: Home readings are usually more accurate.
- Empowerment: You see progress in real time.
(Also read: What Causes High Blood Pressure? (And How to Fix It))
🩺 Step 1 — Choose the Right Blood Pressure Monitor
✅ Best Option: Automatic Upper-Arm Monitor
- Most accurate for home use
- Recommended by the American Heart Association (AHA)
- Choose a clinically validated model
⚠️ Avoid if Possible
- Wrist or finger monitors (less accurate)
- Old manual cuffs unless trained to use them
💡 Tip: Ensure the cuff fits your arm — too small gives false high numbers.
🪑 Step 2 — Prepare Properly Before Measuring
- Rest for 5 minutes in a quiet room.
- Avoid caffeine, exercise, or smoking for 30 minutes beforehand.
- Empty your bladder.
- Sit with back supported, feet flat, arm at heart level.
- Don’t talk or move during measurement.
(Also read: Morning Habits That Help Reduce High Blood Pressure)
📏 Step 3 — How to Take Your Reading
- Wrap the cuff around your bare upper arm (1 inch above elbow).
- Press start and stay still while it inflates.
- Note the two numbers: Systolic (top) and Diastolic (bottom).
- Wait 1–2 minutes and repeat; average the two results.
Take two readings in the morning (before eating) and two at night (before bed) for accuracy.
📊 Step 4 — Record Your Results
Keep a log or use a monitor app.
| Category | Systolic | Diastolic |
|---|---|---|
| Normal | < 120 | < 80 |
| Elevated | 120–129 | < 80 |
| Stage 1 Hypertension | 130–139 | 80–89 |
| Stage 2 Hypertension | ≥ 140 | ≥ 90 |
(Also read: Understanding Blood Pressure Numbers: What They Really Mean)
⚠️ Step 5 — Avoid Common Mistakes
- Measuring after exercise or stress
- Talking during test
- Crossing legs
- Wearing clothes under the cuff
- Checking only once a week
🧘 Step 6 — Interpret and Act on Your Readings
Below 120/80: Excellent — maintain current habits.
130/80–139/89: Borderline — focus on diet and exercise.
Above 140/90: Consult your doctor.
(Also read: When to See a Doctor for High Blood Pressure (Warning Signs & Next Steps))
❓ FAQs — How to Check Blood Pressure at Home
- Best time to measure? Morning and evening.
- Before or after medication? Before.
- How many times per day? Twice daily for a week initially.
- Does stress affect results? Yes — relax first.
- Are wrist monitors accurate? Usually less so.
- Numbers differ each time? Average two readings.
- How to check accuracy? Compare with your doctor’s device.
- Both arms? Yes — then use the higher arm consistently.
- Record results? Always — it reveals trends.
- Lower naturally? Yes — diet, exercise, and stress management help.
(See Best Natural Supplements to Lower Blood Pressure)
❤️ Final Thoughts
Checking your blood pressure at home is simple and life-saving when done correctly.
Choose the right monitor, prepare properly, and track consistently to stay in control of your heart health.
(Also read: The Complete Guide to Lowering Blood Pressure Naturally)

Medically Reviewed for Accuracy
This content has been reviewed for accuracy and clarity by The Health Knowledge Base Medical Review Team, using current research and evidence-based health guidance.
Our review process helps ensure that information related to health, wellness, nutrition, lifestyle strategies, and natural support topics reflects current scientific understanding and responsible editorial standards.
Written by The Health Knowledge Base Editorial Team
Our editorial team consists of health researchers, wellness writers, and content specialists focused on creating clear, practical, and research-informed health content.
We publish educational articles designed to help readers better understand health topics, explore natural wellness strategies, and make more informed lifestyle decisions with confidence.
Affiliate Transparency, Medical Disclaimer & Safety Notice
At The Health Knowledge Base, we take pride in being a trusted resource and affiliate partner with select, high-quality companies. We choose these partnerships carefully because we genuinely believe their products, services, and educational resources align with the values and mission of our website.
When you purchase through certain links on this site, we may receive a small commission or compensation. This helps support our research, content creation, and ongoing work at no additional cost to you. Your price remains exactly the same.
Medical Disclaimer
The information provided by The Health Knowledge Base is for general informational and educational purposes only and is not a substitute for professional medical advice, diagnosis, or treatment.
Always seek the advice of your physician, doctor, or another qualified healthcare provider with any questions you may have regarding a medical condition, symptoms, treatment options, diet changes, exercise programs, or supplements.
Never disregard professional medical advice or delay in seeking it because of something you have read on this website.
Critical Safety Notice
Before making any changes to your diet, starting a new fitness or wellness routine, or taking any supplements mentioned on this site, you should consult with your doctor, physician, or another qualified healthcare professional. Reliance on any information provided by The Health Knowledge Base is solely at your own risk.
View our Affiliate Disclosure → | View our Medical Disclaimer →